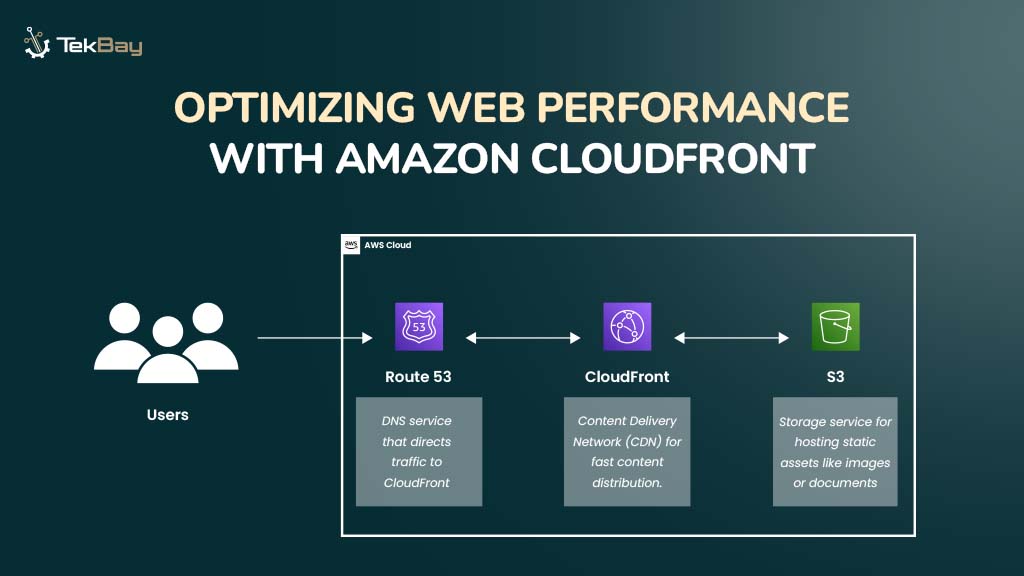
Fast and responsive web experiences are essential for user engagement, satisfaction, and retention—ultimately driving business success —whether you’re running an e-commerce site, media streaming platform, or high-traffic application.
Using a Content Delivery Network (CDN) like Amazon CloudFront enhances performance by reducing latency and improving load times, thus speeding up content delivery to users worldwide.
In this blog, we will learn to configure and optimize Amazon CloudFront for faster load times, enhanced scalability, and a more efficient web experience.
Prerequisites
- An active AWS account.
- Basic knowledge of AWS Console and AWS services like CloudFront, S3, and Route 53.
- A static content origin, such as an Amazon S3 bucket or HTTP server.
- DNS Configuration (Optional): If you want to use your custom domain with CloudFront, you’ll need to configure DNS settings in Amazon Route 53 or another DNS provider.
Step-by-Step Guide to Set Up Amazon CloudFront
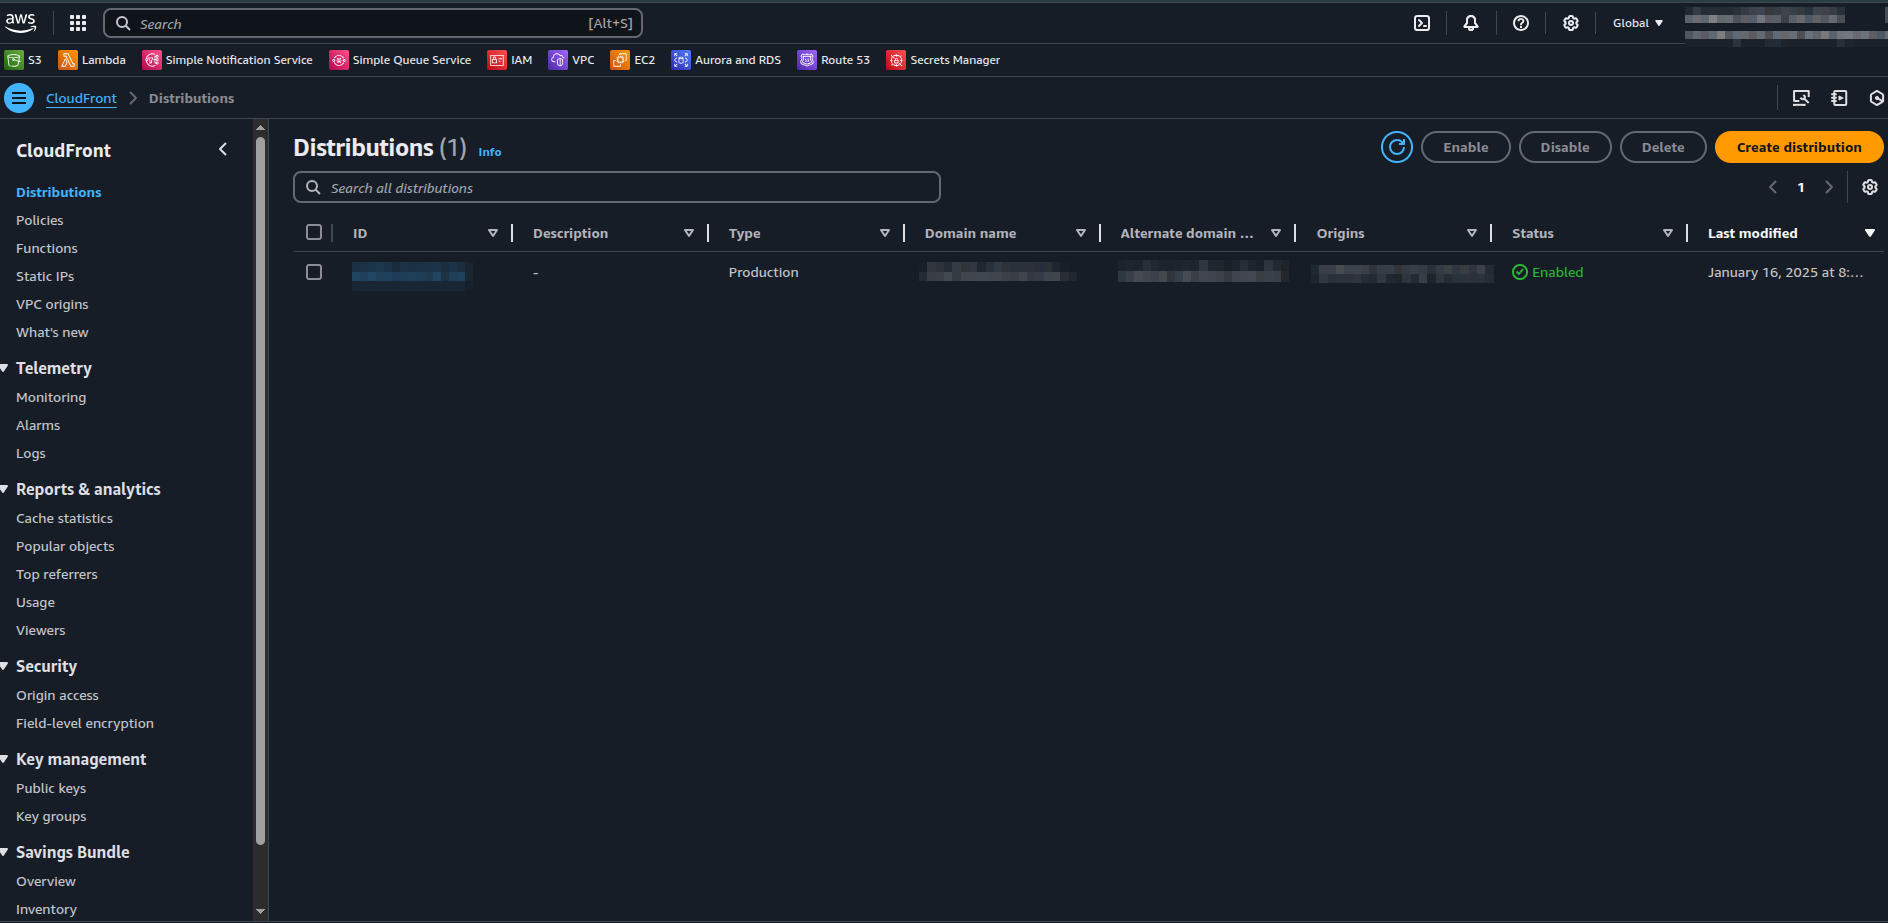
Step 1: Navigate to the CloudFront Console
- Visit the AWS Management Console and sign in to your account.
- Once logged in, use the search bar at the top of the console to find CloudFront.
- Click on ‘CloudFront’ from the list of services to enter the CloudFront dashboard.

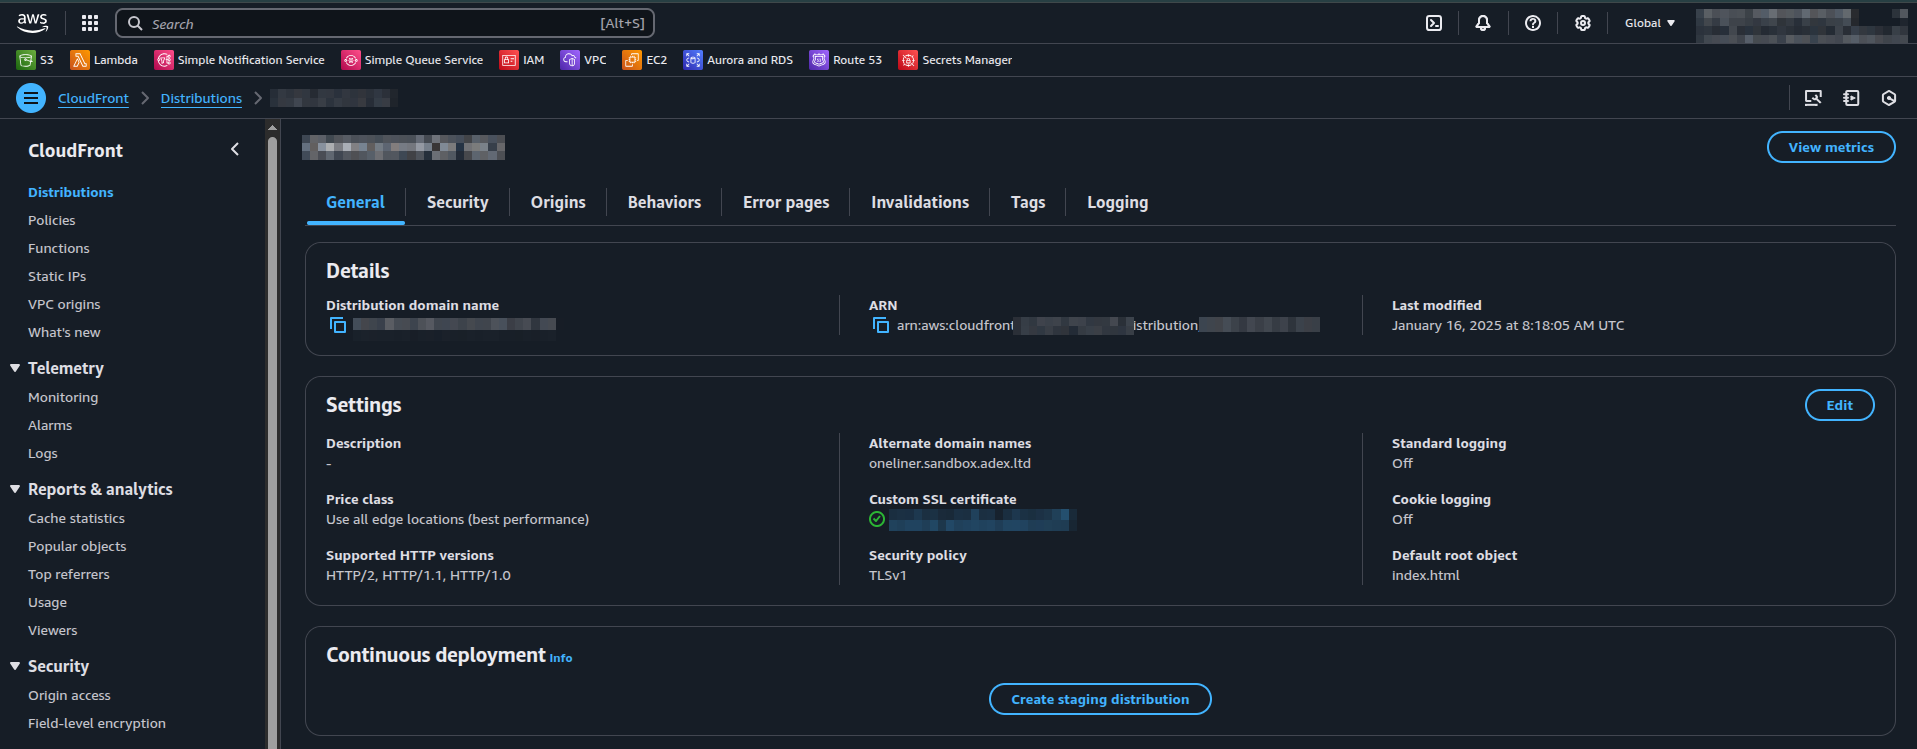
Step 2: Create a New CloudFront Distribution
A distribution allows CloudFront to deliver your content to users with low latency and high transfer speeds.
- Once inside the CloudFront console, click “Create Distribution” to start the configuration process.
- Choose the Web distribution type that is the most commonly used for websites and static content delivery.

Step 3: Configure the Origin Settings
In the Create Distribution page, you’ll need to configure your origin settings to define where CloudFront fetches your content.
For this example, we will use Amazon S3 to serve static content such as images, videos, and CSS files.

When setting up your origin, you’ll need to specify the following configurations:
- Origin domain: The DNS domain name of your origin, such as an S3 bucket, HTTP server, etc.
- Origin path: An optional URL path added to the origin domain for origin requests.
- Name: A custom name you assign to the origin for identification.
- Custom header: An optional header is added to every request CloudFront sends to your origin.
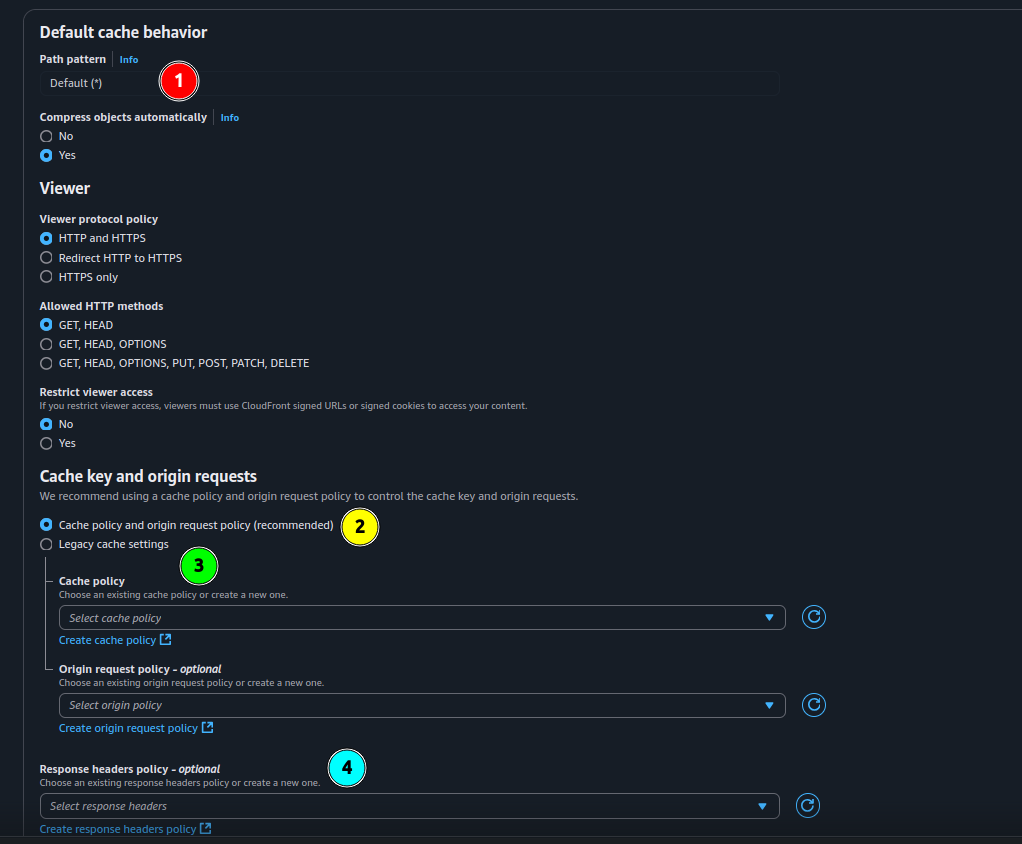
Step 4: Configure Cache Behavior
We need to configure a few settings to enable CloudFront to cache content effectively. These settings define how CloudFront handles caching for different types of requests.
Here’s a breakdown of the key configurations:
- Path Pattern: Defines which URLs CloudFront should match for this cache behavior.
- Cache Policy (recommended): A modern policy that controls caching behavior, including compression and cache key settings.
- Cache Policy (legacy): The older method for defining caching behavior.
- Response Header Policy: Defines the headers that CloudFront includes in its responses to viewers, such as CORS or security-related headers.
Step 5: Set Up a Web Application Firewall (WAF)
CloudFront offers integration with a Web Application Firewall (WAF) to enhance security and protect against common vulnerabilities.
- Enable WAF: In the WAF section, enable security protections to guard against attacks such as SQL injection and cross-site scripting (XSS).
- Configure WAF Rules: Add rules to block specific types of traffic or protect sensitive data.
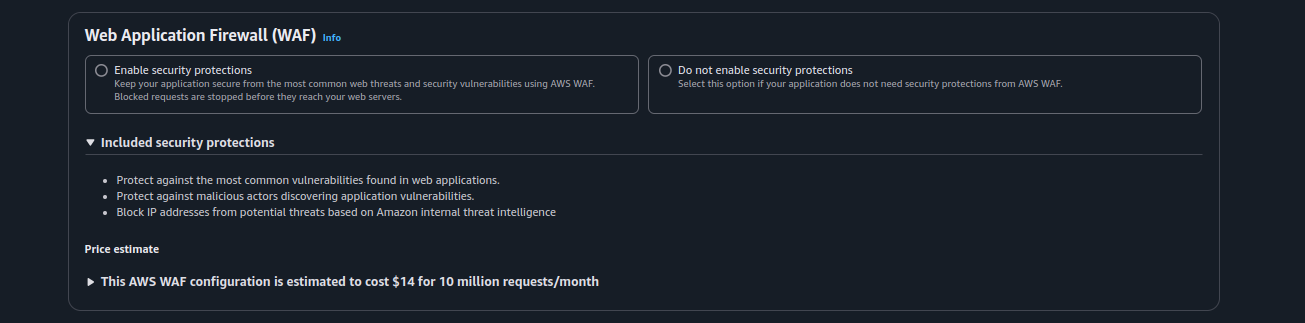
Implementing WAF safeguards your CloudFront distribution against malicious traffic, ensuring better performance and reliability while benefiting you from cloud services.
Step 6: Verify CloudFront Implementation
After setting up CloudFront, you can verify its effectiveness by checking cache behavior through your browser’s network tools.
In CloudFront, there are two main caches to monitor: cache-hit and cache-miss.
- Cache-miss occurs when CloudFront doesn’t have the requested content in its cache and has to retrieve it from the origin server.
- Cache-hit happens when the content is already in the CloudFront cache and is served directly, improving performance.

By inspecting the response headers in the browser’s network manager, you can confirm whether the content is served from the CloudFront cache (cache-hit) or fetched from the origin server (cache-miss).
Conclusion
Amazon CloudFront improves web performance by delivering content faster, reducing latency, and increasing reliability. It caches content at global edge locations, ensuring a smooth user experience. Whether for video streaming, API acceleration, or content delivery, CloudFront offers an affordable, scalable, and secure solution to enhance user experience and drive engagement.
Take the next step in optimizing your web performance—start implementing CloudFront today to elevate your content delivery and improve your website’s speed and scalability.


