Kubernetes cluster backups are essential for ensuring data integrity and operational continuity. Whether preventing accidental deletions, infrastructure failures, or planning migrations, a reliable backup and recovery strategy keeps your workloads protected and recoverable.
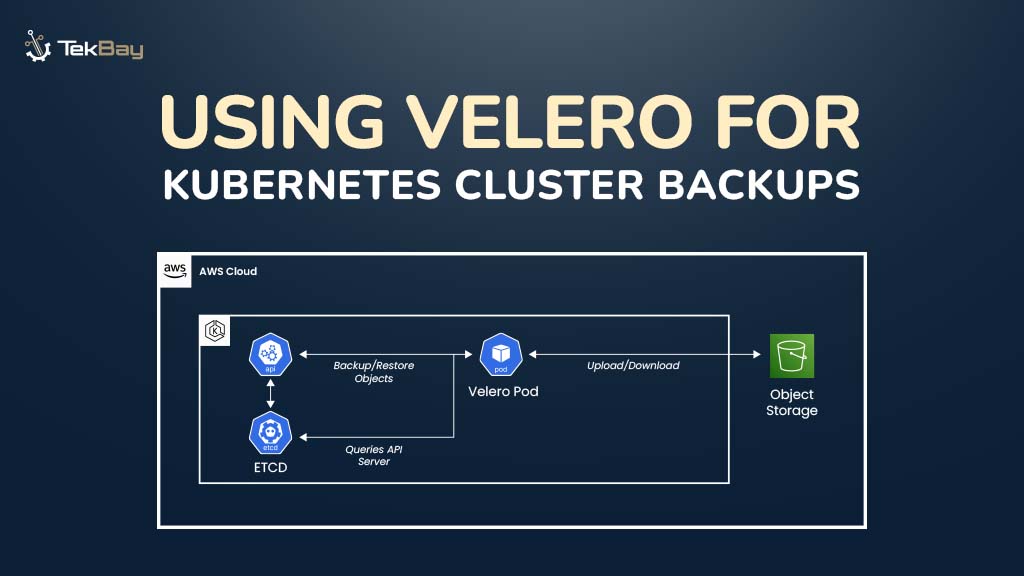
Velero provides an efficient solution for managing Kubernetes backups, offering flexible architecture and reliable backup mechanisms for creating, restoring, and automating backup snapshots.
In this guide, we will walk you through the step-by-step process of installing Velero, creating backups, restoring resources, and setting up automated backup schedules.
Problem Scenario
Imagine spending months building applications on your Kubernetes cluster. What happens if you accidentally delete important data or your cluster stops working? Without a backup system, you’d have to rebuild everything from the beginning, losing all your work and time.
This is where Velero helps. It provides a reliable backup system that secures your applications and data.
By integrating with cloud storage services like AWS S3, Velero ensures your backups are securely stored and can be easily recovered if something goes wrong or when migrating your applications.
For more information, refer to the official Velero documentation.
Prerequisites
Before starting with Velero, ensure you meet the following requirements:
- Kubernetes Cluster: A running Kubernetes cluster is required. This can be either a local setup (e.g., MicroK8s) or a cloud-based solution like AWS EKS.
- AWS Account: An active AWS account for setting up S3 storage and configuring necessary permissions.
- Storage Backend: A Velero-compatible storage solution for your backups (AWS S3 or MinIO).
- kubectl Access: Ensure that
kubectlis set up and can access your Kubernetes cluster. If using MicroK8s, an alias formicrok8s kubectlmay be required.
Step-by-Step Guide to Backing Up a K8s Cluster with Velero
Step 1: Install Velero and Verify the Kubernetes Cluster
To begin backing up your Kubernetes cluster with Velero, you first need to install Velero on your Linux system and verify that your Kubernetes environment is functional.
1.1 Installing Velero
To get started, download and install Velero on a Linux system with the following commands:
wget https://github.com/vmware-tanzu/velero/releases/download/v1.15.2/velero-v1.15.2-linux-amd64.tar.gz
tar -xvf velero-v1.15.2-linux-amd64.tar.gz
cd velero-v1.15.2-linux-amd64/
sudo mv velero /usr/local/bin
Here’s a breakdown of what each command does:
wget: Downloads the Velero tarball (compressed file) from the official GitHub repository.tar -xvf: Extracts the contents of the downloaded Velero tarball, which includes the Velero binary.cd: Changes the directory to the folder containing the extracted Velero files.sudo mv velero /usr/local/bin: Moves the Velero binary to a system-wide directory (/usr/local/bin), making it accessible from anywhere on the system.
1.2 Verifying the Installation
Once installed, check if Velero is set up correctly by running the following command:
velero --versionThis will display the installed version of Velero. If the version is shown without any errors, the installation was successful.
1.3 Verifying the Kubernetes Cluster
The next step is to ensure your Kubernetes cluster is up and running. To do this, use the following command:
kubectl get nodesThis will display the status of your Kubernetes nodes. Below is an example output where all nodes are marked as “Ready,” confirming that the cluster is operational:

Note: If you are using a MicroK8s cluster, you cannot use kubectl directly. Instead, you will need to set up an alias for microk8s kubectl, and then you can use kubectl.
Step 2: Configuring AWS Credentials
Velero requires credentials to interact with AWS. Create a credentials file with the following:
cat > credentials-velero << EOF
[default]
aws_access_key_id=<YOUR_AWS_ACCESS_KEY>
aws_secret_access_key=<YOUR_AWS_SECRET_KEY>
EOF
Replace the placeholders with your actual AWS access key and secret key. Store the file securely and note its path for the next steps.
Step 3: Installing Velero on Your Cluster
Once Velero is installed on your local system, the next step is to deploy Velero into your Kubernetes cluster.
To install Velero on your Kubernetes cluster and configure it to use AWS S3 for backup storage, run the following command:
velero install \
  --provider aws \
  --plugins velero/velero-plugin-for-aws:v1.5.0 \
  --bucket <YOUR_BACKUP_BUCKET_NAME> \
  --backup-location-config region=<YOUR_AWS_REGION> \
  --snapshot-location-config region=<YOUR_AWS_REGION> \
  --secret-file <PATH_TO_CREDENTIALS_FILE>
Replace the placeholders with your S3 bucket name, AWS region (e.g., us-east-1), and the path to your credentials file.
Verifying Velero Installation in Your Cluster
After installing Velero, verify it’s running in your Kubernetes cluster by checking the version with the following command:
velero versionHere’s an example of what the output might look like:

Verifying the Namespace Creation
Once Velero is installed in your Kubernetes cluster, it will automatically create a namespace to handle all backup and restore operations. To verify the namespaces in your cluster, run:
kubectl get namespacesThe output should look something like this:
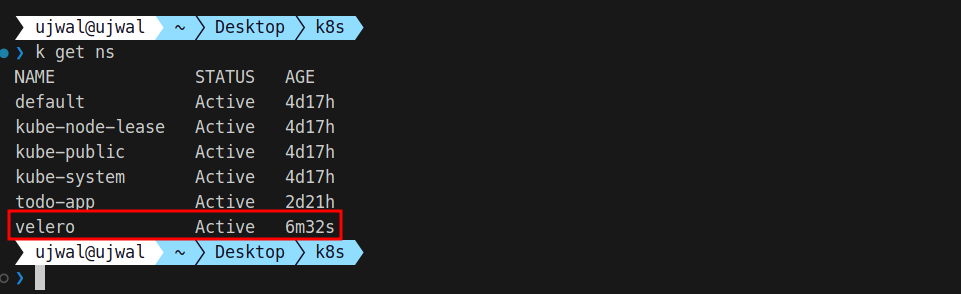
As shown, the velero namespace has been created and is marked as Active.
Step 4: Checking the Backup Location and Creating a Full Cluster Backup
Before initiating a backup, verify that the backup location has been created and is accessible. Run the following command:
velero get backup-locationsNote: If the AWS credentials are missing or improperly configured, you see a phase marked as “Unavailable,” as in the image below. So, the IAM role associated with the credentials must have the necessary permissions for GetObject and PutObject operations on the specified S3 bucket.

Create the Full Cluster Backup
Once the backup location is correctly set up, create a full backup of the Kubernetes cluster by executing:
velero backup create first-cluster-backupVerify the Backup Creation
To check if the backup was successfully created, run:
kubectl get backup -n velero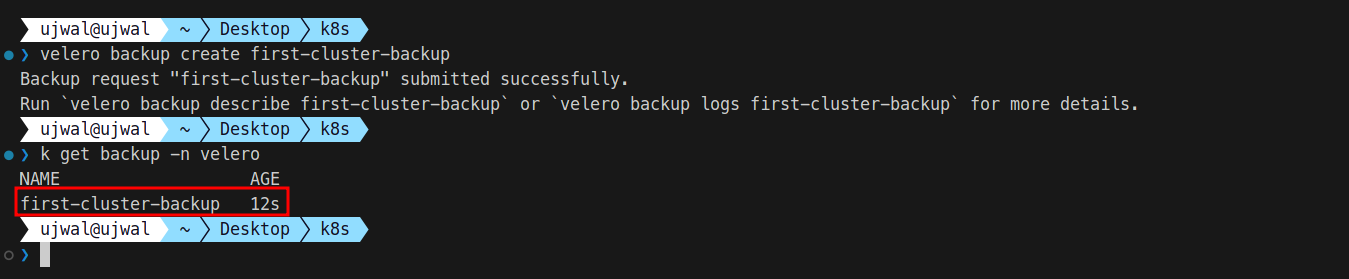
For a detailed view of the backup status, you can describe it using:
velero backup describe first-cluster-backup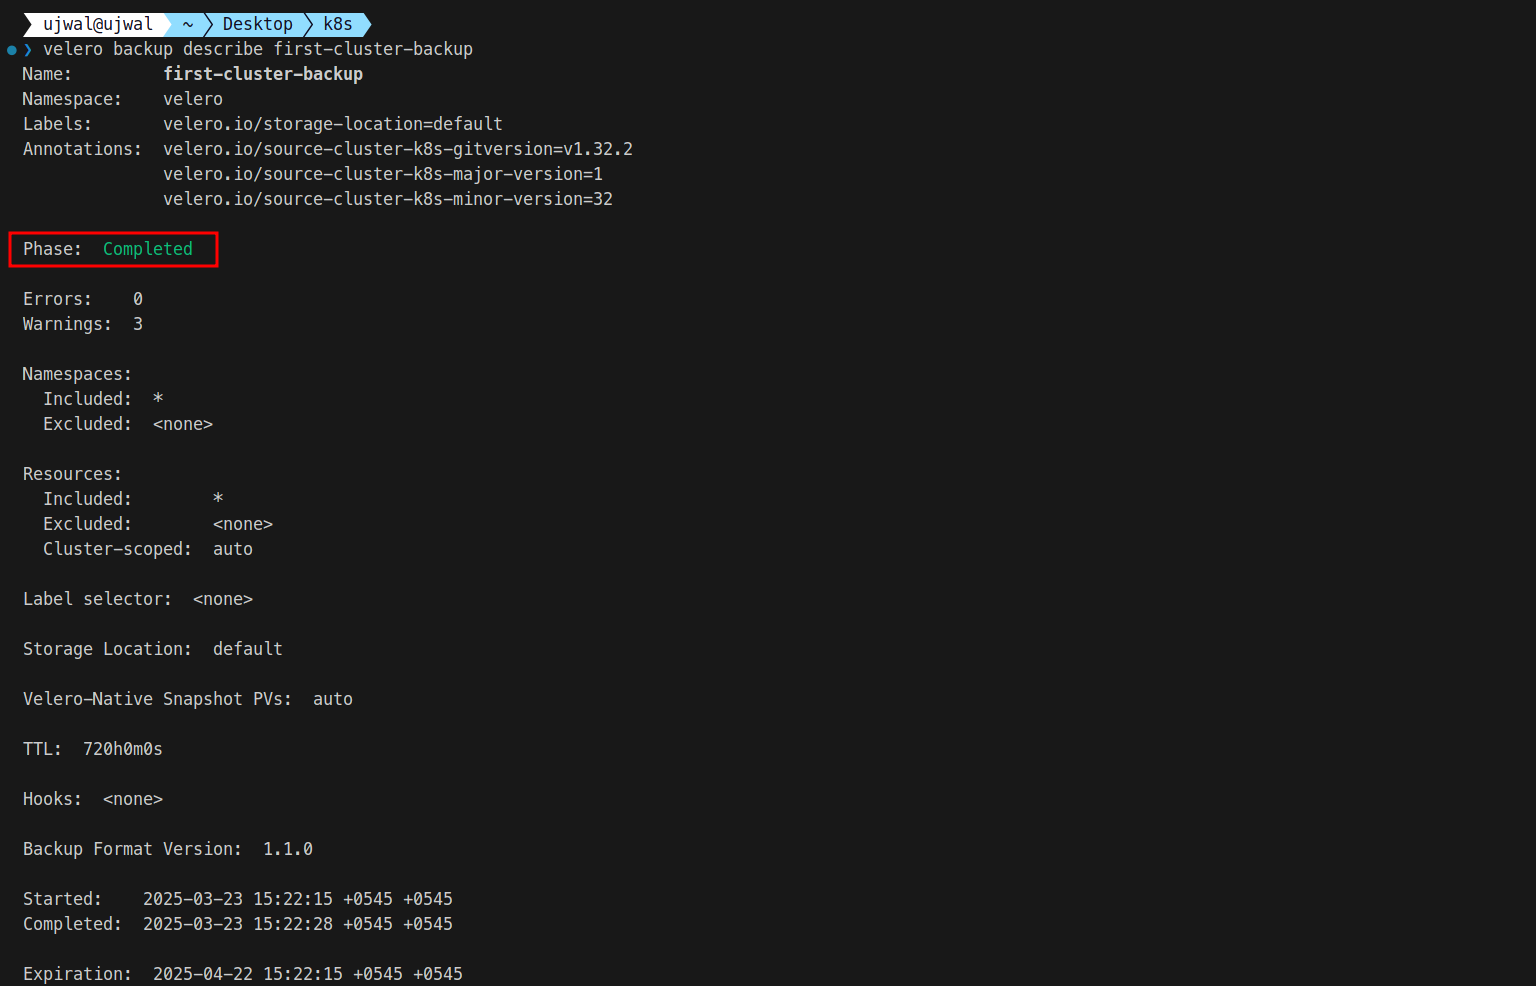
Step 5: Creating a Selective Backup and Excluding Resources
You can use specific filters to include or exclude certain resources for more control over your backup.
5.1 Creating a Selective Backup
To back up only specific namespaces, resource types, or cluster-wide resources, run:
velero backup create my-selective-backup \
  --include-namespaces app1,app2 \
  --include-resources deployments,pods \
  --include-cluster-resources=true \
  --selector app=super-important
This command backs up only the app1 and app2 namespaces, including deployments and pods with the label app=super-important, along with cluster-wide resources.
5.2 Excluding Resources from a Backup
If you need to exclude specific resources—such as logs or temporary data—that are not necessary for a restore, use the following command:
velero backup create my-clean-backup \
  --exclude-namespaces noisy-namespace,useless-namespace \
  --exclude-resources secrets,configmaps
This skips the specified namespaces and resource types during the backup.
Step 6: Listing Available Backups
To view all backups stored in Velero, run the following command:
velero backup getThis displays a list of backup names available for restoration.

Step 7: Restoring from a Backup
To restore an entire backup, use:
velero restore create --from-backup first-cluster-backup
For a selective restore, specify filters:
velero restore create --from-backup my-selective-backup \
  --include-namespaces app1 \
  --include-resources pods \
  --namespace-mappings app1:app1-restored
This restores only pods from the app1 namespace, mapping them to a new namespace called app1-restored.
Step 8: Scheduling Backups
To automate backups, you can set a cron schedule:
# Daily at midnight
velero schedule create daily-backup --schedule "0 0 * * *"
# Weekly on Sunday at 1 AM
velero schedule create weekly-backup --schedule "0 1 * * 0"
Tip: By default, Velero retains backups for 30 days (720 hours). To modify the retention period, use the –ttl <DURATION> flag, specifying the desired duration (e.g., –ttl 7d for 7 days).

Step 9: Managing and Troubleshooting Backups
Check the status of backups and restores with these commands:
velero backup describe my-full-cluster-backup
velero backup logs my-full-cluster-backup
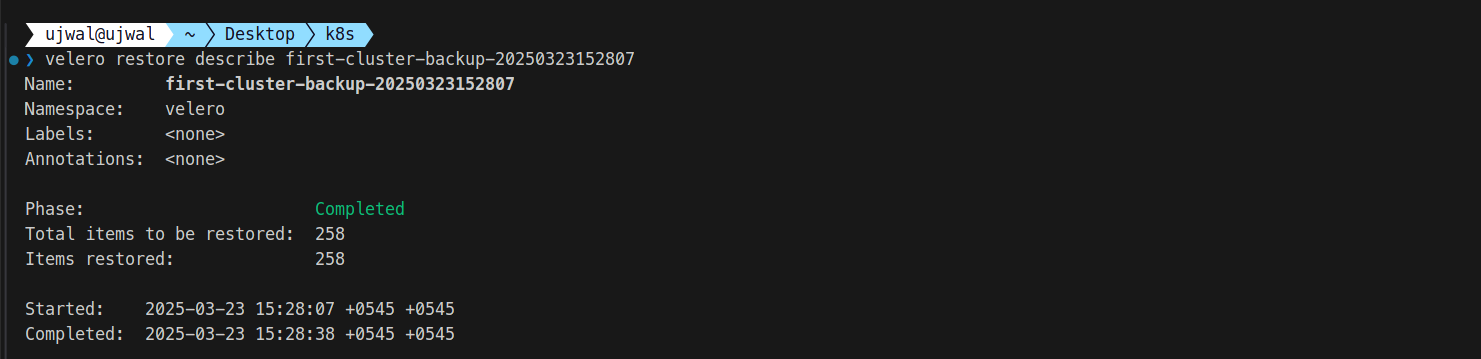
velero restore describe my-restore
velero restore logs my-restoreTo delete a backup, run:
velero backup delete my-selective-backupConclusion
With Velero, backup management for Kubernetes becomes straightforward yet powerful. The steps covered allow you to set up, automate, and customize your backups efficiently. Whether performing full backups, targeting critical resources, or scheduling them regularly, Velero ensures you have complete control over your backup strategy.


