Many automation platforms that rely on fully-managed hosting come with trade-offs: costly pricing tiers, reduced flexibility, and limited data control. To address these challenges, n8n, an open-source automation platform, offers the ability to build unlimited workflows with full customization and data ownership.
This blog provides a step-by-step guide to deploying n8n on an AWS EC2 instance using Docker, enabling automation workflows to run on cloud infrastructure you control.
What is n8n and Why Self-Host It?
n8n is an open-source workflow automation platform that connects apps and services to automate tasks with minimal coding. n8n supports self-hosting, providing full control over customization, data privacy, and scalability without vendor lock-in.
This flexibility makes it a strong choice for teams or individuals who value transparency, control, and ownership over how their automations run.
Why Choose AWS EC2 and Docker for n8n?
Running n8n on AWS EC2 provides a reliable and scalable environment that offers full control over the underlying infrastructure. It enables configuring security, managing resources, and optimizing costs by paying only for actual usage.
Docker simplifies the setup by packaging n8n and its dependencies into a portable container, ensuring consistency across environments and minimizing manual work.
Prerequisites
Before starting the setup procedure, make sure the following requirements are in place:
- An AWS account with permission to create and manage EC2 instances
- An SSH client to connect to the EC2 instance
- Basic knowledge of the Linux command line
- Basic understanding of Docker
- Docker Compose installed (Will install it during setup)
Steps to Deploy n8n on EC2 Using Docker
Step 1: Launch an EC2 Instance
First, set up an AWS EC2 instance where n8n will run. This tutorial uses Ubuntu 22.04 as the operating system since it’s stable and well-supported for Docker.
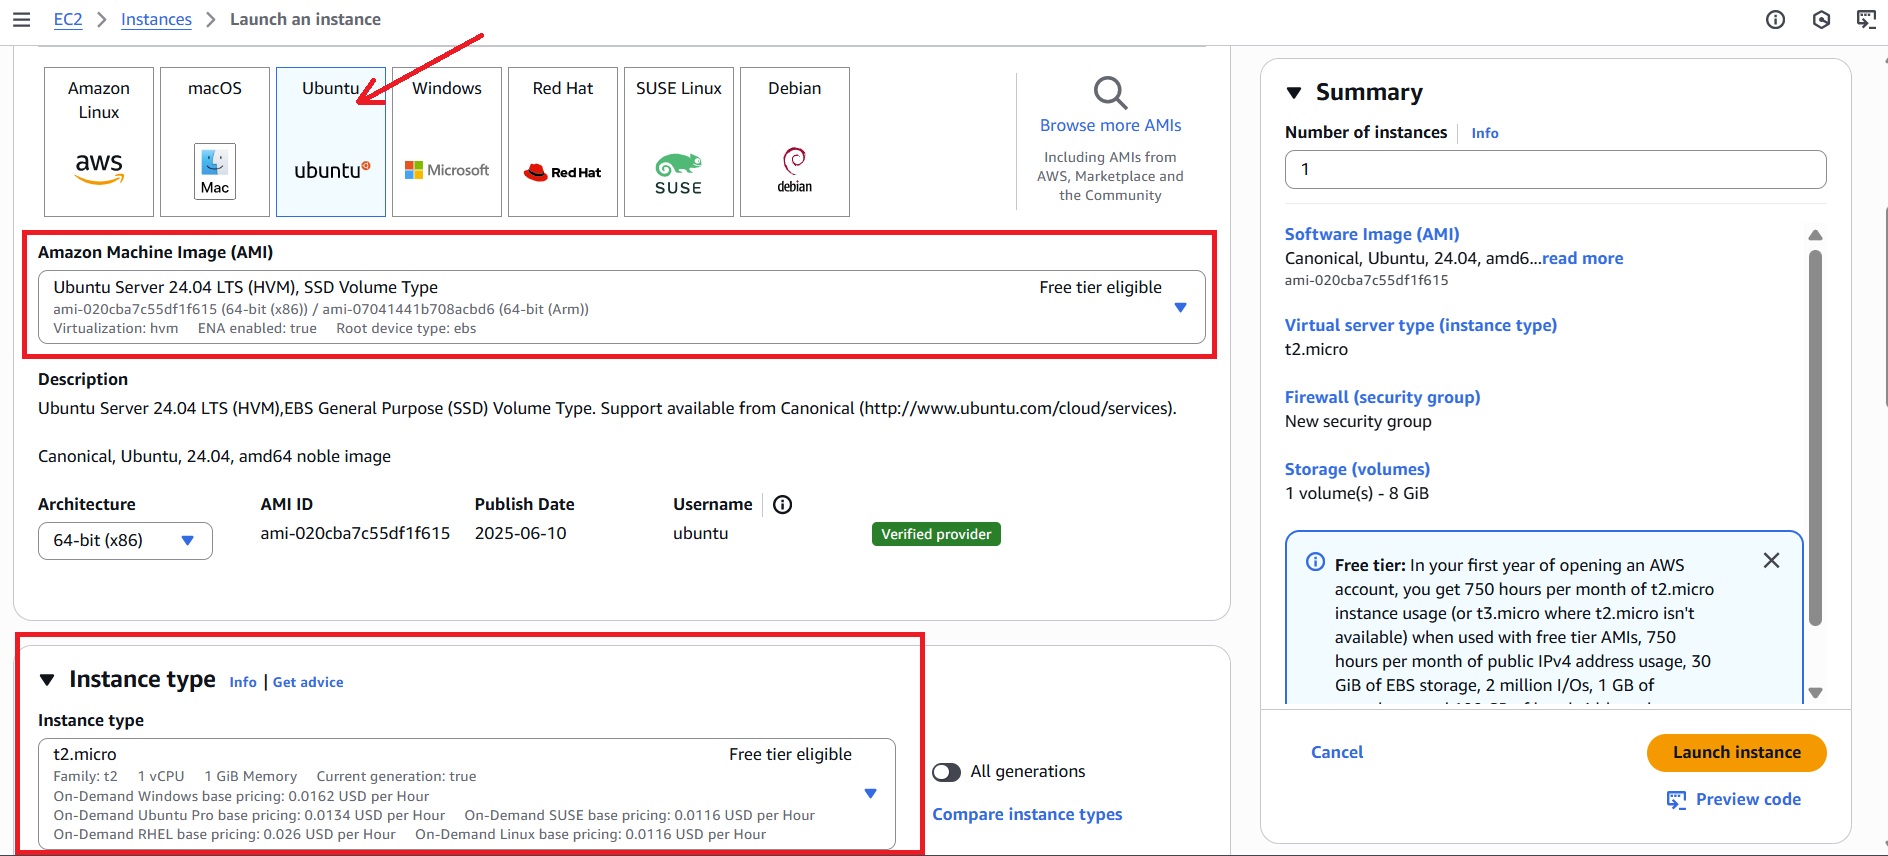
- Log in to the AWS Console and navigate to the EC2 Dashboard to launch a new instance.
- Choose Ubuntu 22.04 as the Amazon Machine Image (AMI) when launching the instance.
- Select an instance type suitable for your workload (for example, t2.micro for this tutorial).
- Configure security group: Create a new security group or select an existing one, with the allow rules:
– SSH access on port 22 to securely connect to the server.
– Access to the n8n web interface on port 5678. - Download the SSH key pair file (.pem) to securely connect to the EC2 instance.
- Review settings and then click ‘Launch instance’.
SSH Into The Instance
Use an SSH client like PowerShell (Windows) or Terminal (Mac/Linux) to connect to the EC2 instance with the following command:
ssh -i your-key.pem ubuntu@your-ec2-public-ipReplace the following placeholders:
- your-key.pem with the actual path to the downloaded .pem file.
- your-ec2-public-ip with the EC2 instance’s public IPv4 address, available in the EC2 dashboard under “Instances” → [instance-name]→ “Public IPv4 address.”

Step 2: Install Docker and Docker Compose
With the EC2 instance up and connected via SSH, run the following commands inside the terminal to install Docker and Docker Compose:
# Install dependencies and Docker
sudo apt update
sudo apt install -y ca-certificates curl gnupg

sudo install -m 0755 -d /etc/apt/keyrings
curl -fsSL https://download.docker.com/linux/ubuntu/gpg | sudo gpg --dearmor -o /etc/apt/keyrings/docker.gpg
echo "deb [arch=$(dpkg --print-architecture) signed-by=/etc/apt/keyrings/docker.gpg] \
https://download.docker.com/linux/ubuntu $(lsb_release -cs) stable" | \
sudo tee /etc/apt/sources.list.d/docker.list > /dev/null

sudo apt update
sudo apt install -y docker-ce docker-ce-cli containerd.io docker-buildx-plugin docker-compose-plugin

# Start Docker
sudo systemctl enable --now docker
Verify the Installation
Run the following commands to check if Docker and Docker Compose are installed correctly:
docker --version
docker compose version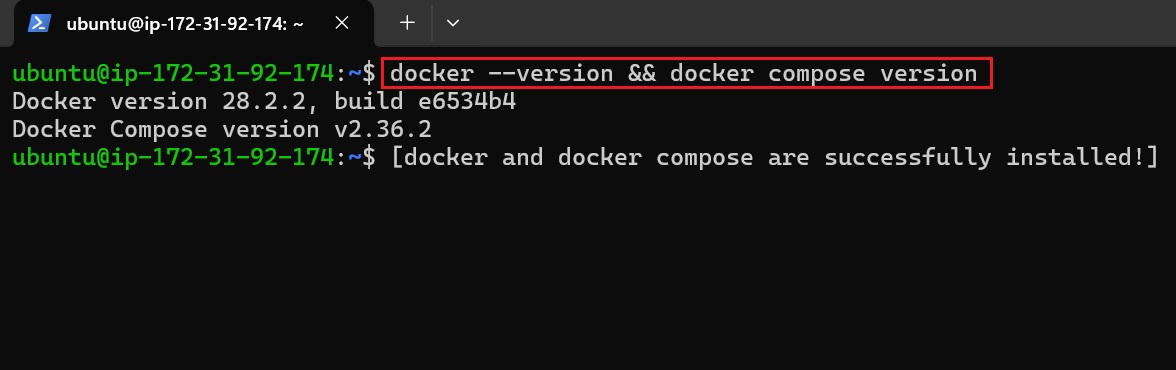
Step 3: Set Up Project Directory and Configuration
- Create a folder for an n8n setup and navigate into it:
mkdir my-n8n-folder && cd my-n8n-folder- Inside this directory, create an .env file to hold login credentials:
nano credentials.env- Add a username and password in the .env file (replace the place_holder with your custom values):
My_User_Name=<place-holder1>
My_UserPass=<place-holder2>
Step 4: Create the Docker Compose File
Inside the same directory where the .env file (credentials.env) is located, create a docker-compose.yml file. This file defines the n8n service, its configuration, and how it runs inside a Docker container.
nano docker-compose.ymlThen, paste the following content into the file:
services:
  n8n:
    image: n8nio/n8n
    ports:
      - "5678:5678"
    env_file:
      - credentials.env
    environment:
      - N8N_BASIC_AUTH_ACTIVE=true
      - N8N_SECURE_COOKIE=false
    volumes:
      - ./n8n_data:/home/node/.n8n
Important Note:
n8n expects HTTPS and sets cookies as secure by default. Since this setup uses plain HTTP for testing, disable this by setting N8N_SECURE_COOKIE=false. However, this should only be used for development.
For production, it’s recommended to run n8n behind an HTTPS-enabled reverse proxy (like Nginx or Traefik) and set N8N_SECURE_COOKIE=true to ensure secure data transmission.
Step 5: Start the n8n Service
Inside the directory where docker-compose.yml and .env files are located, run the following command to start the n8n container:
docker compose up -dVerify n8n Is Running
Check if the container is running using:
docker ps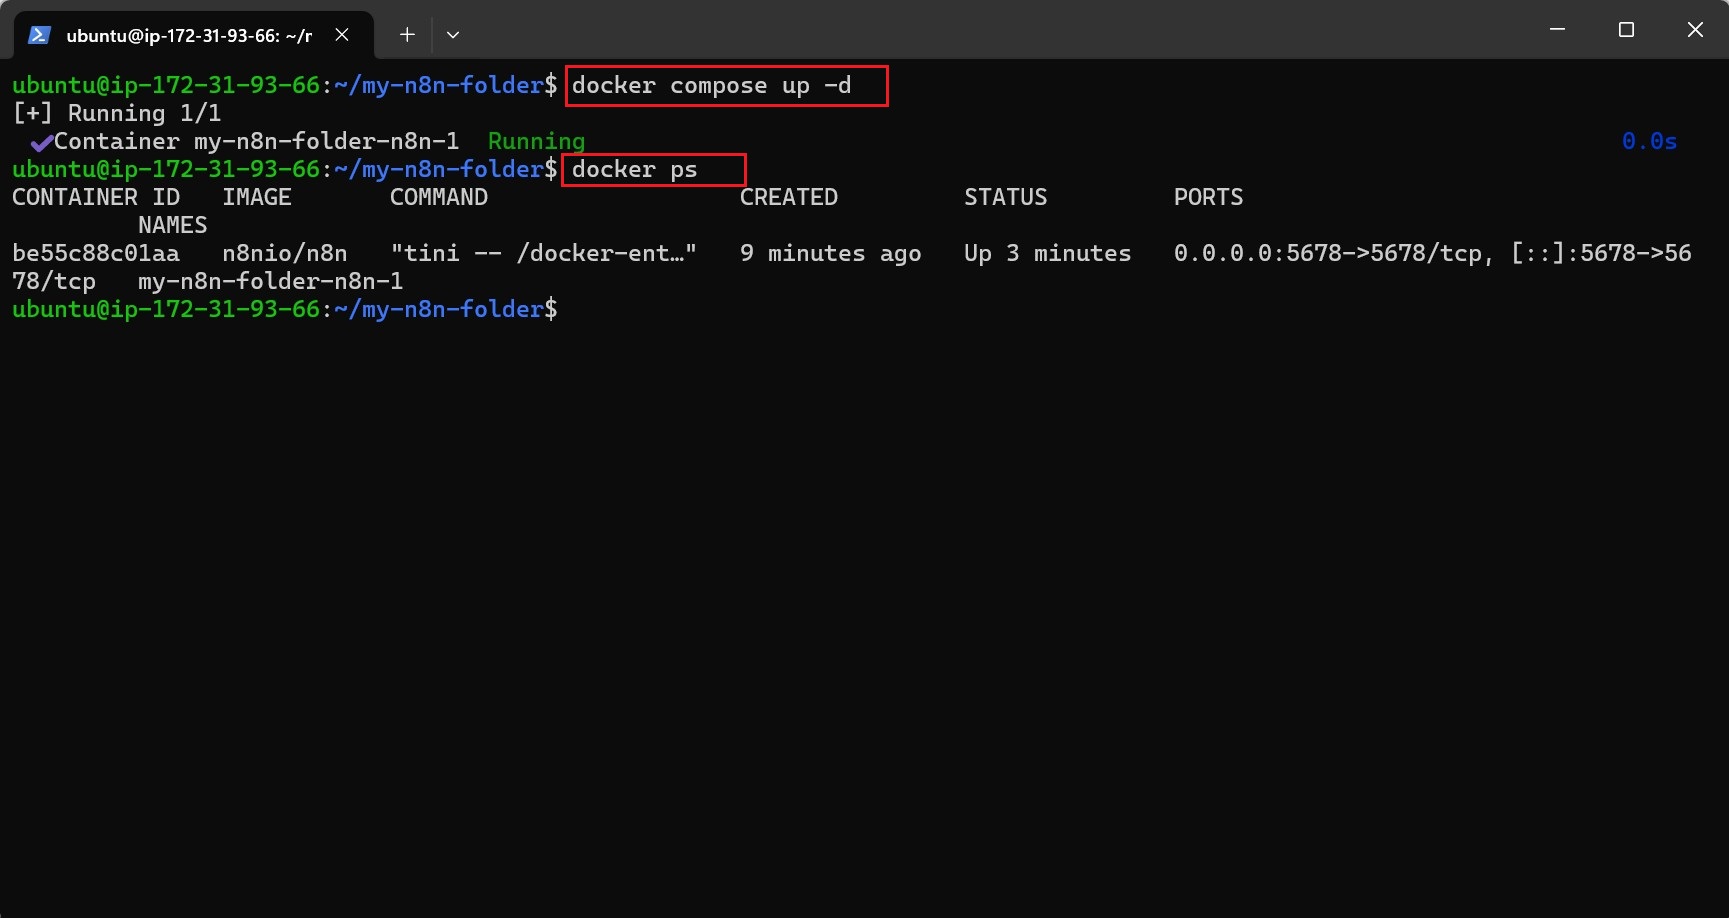
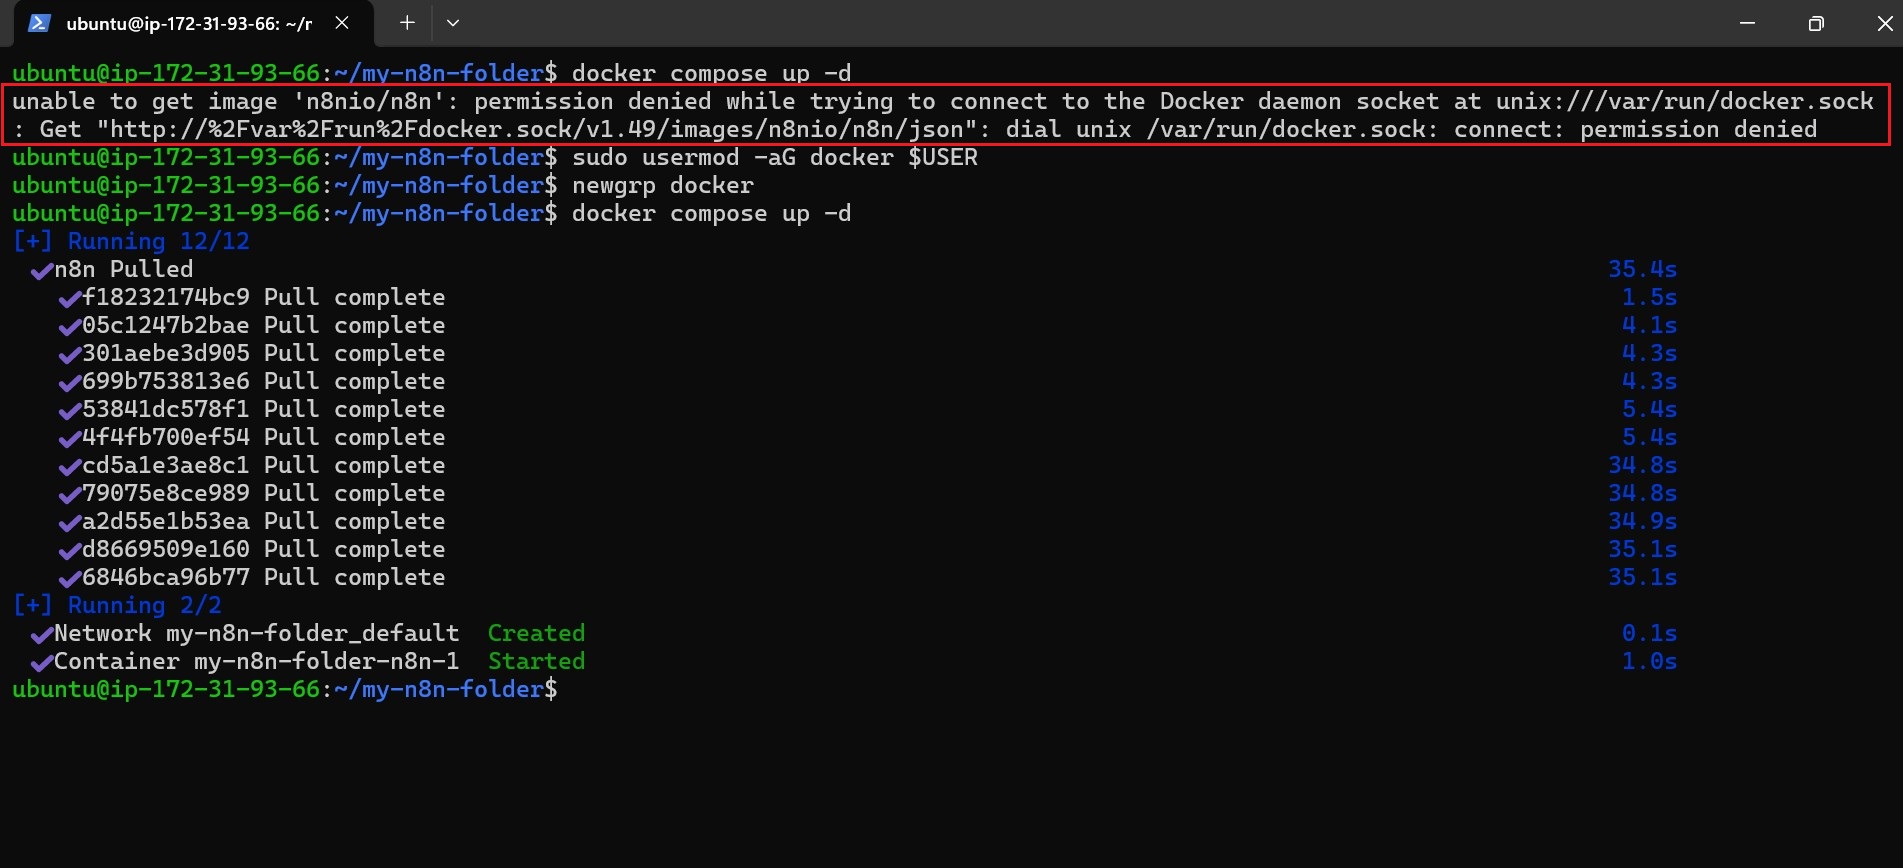
Troubleshooting: Permission Denied Error?
- If a “Permission Denied” error occurs when running Docker, grant the current user access to the Docker group:
sudo usermod -aG docker $USER- Then, log out and log back in, or run the command
newgrp docker. - After that, start the container again using
docker compose up -d.
Optional Fix: Volume Permission Issues
Sometimes, even if the container is running, the n8n dashboard may remain inaccessible due to file permission issues. To resolve this, run:
sudo chown -R 1000:1000 ./n8n_dataStep 6: Access the n8n Dashboard
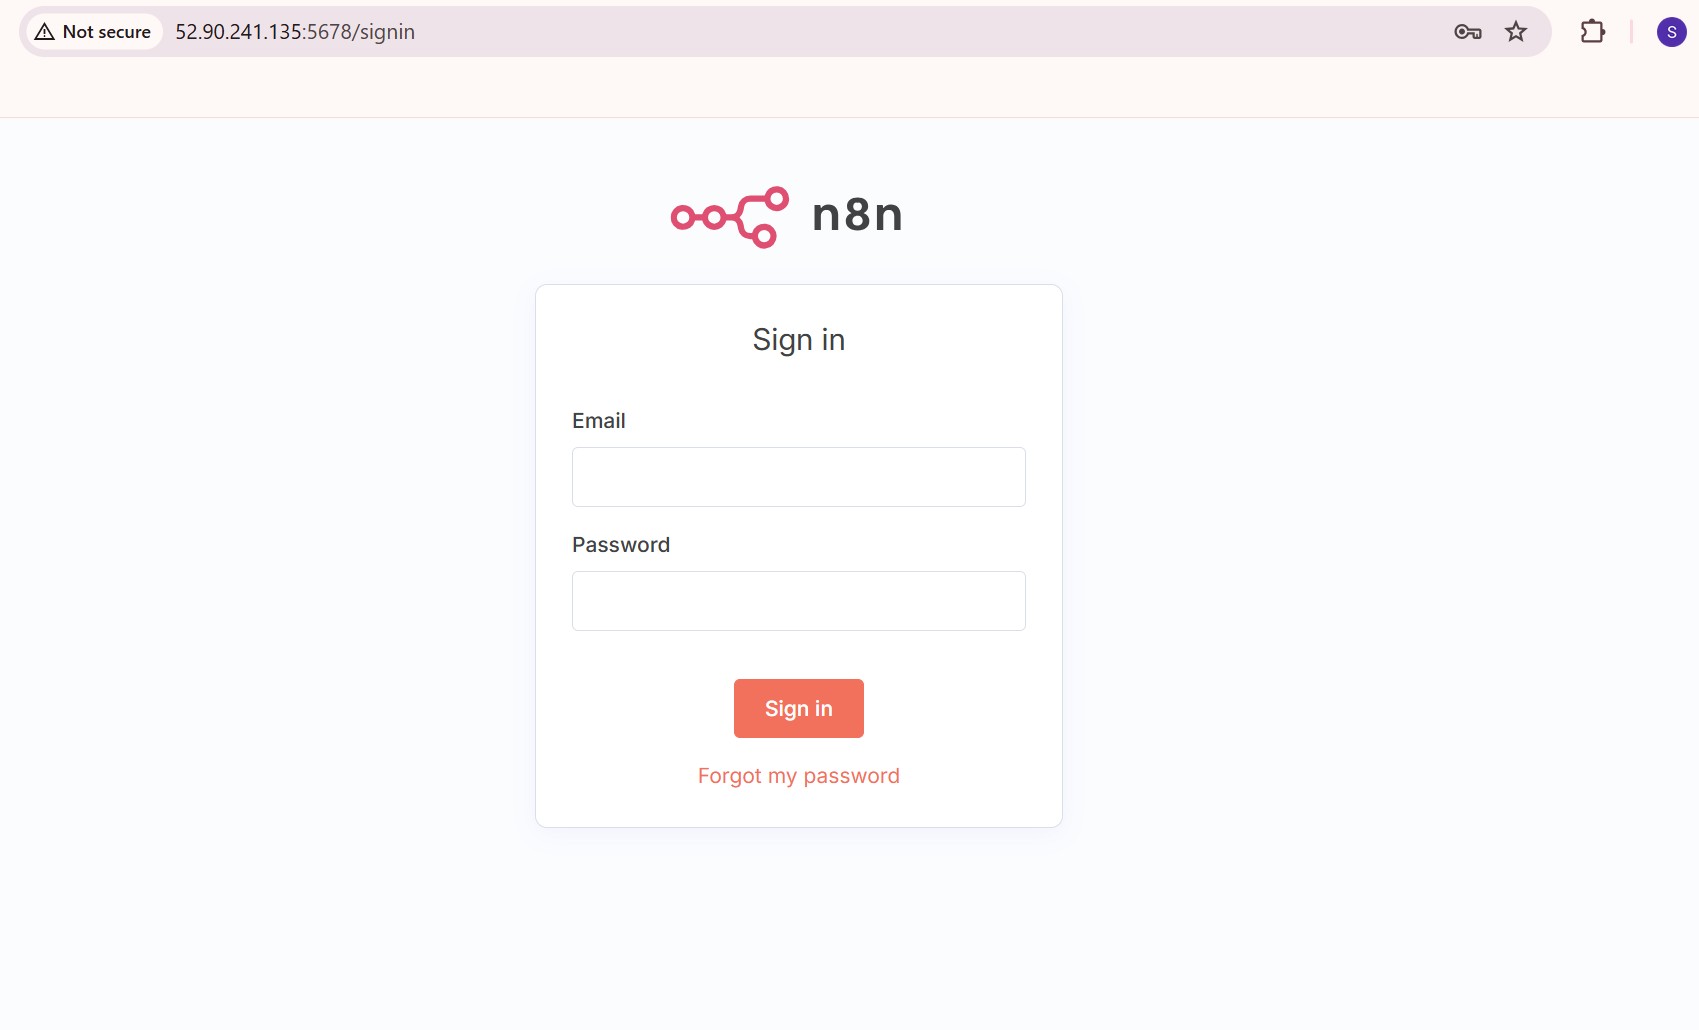
- After the container is up and running, the n8n web interface can be accessed from the browser with the following URL:
http://<ec2-public-ip>:5678Note: Replace <ec2-public-ip> with the public IPv4 address of your EC2 instance.
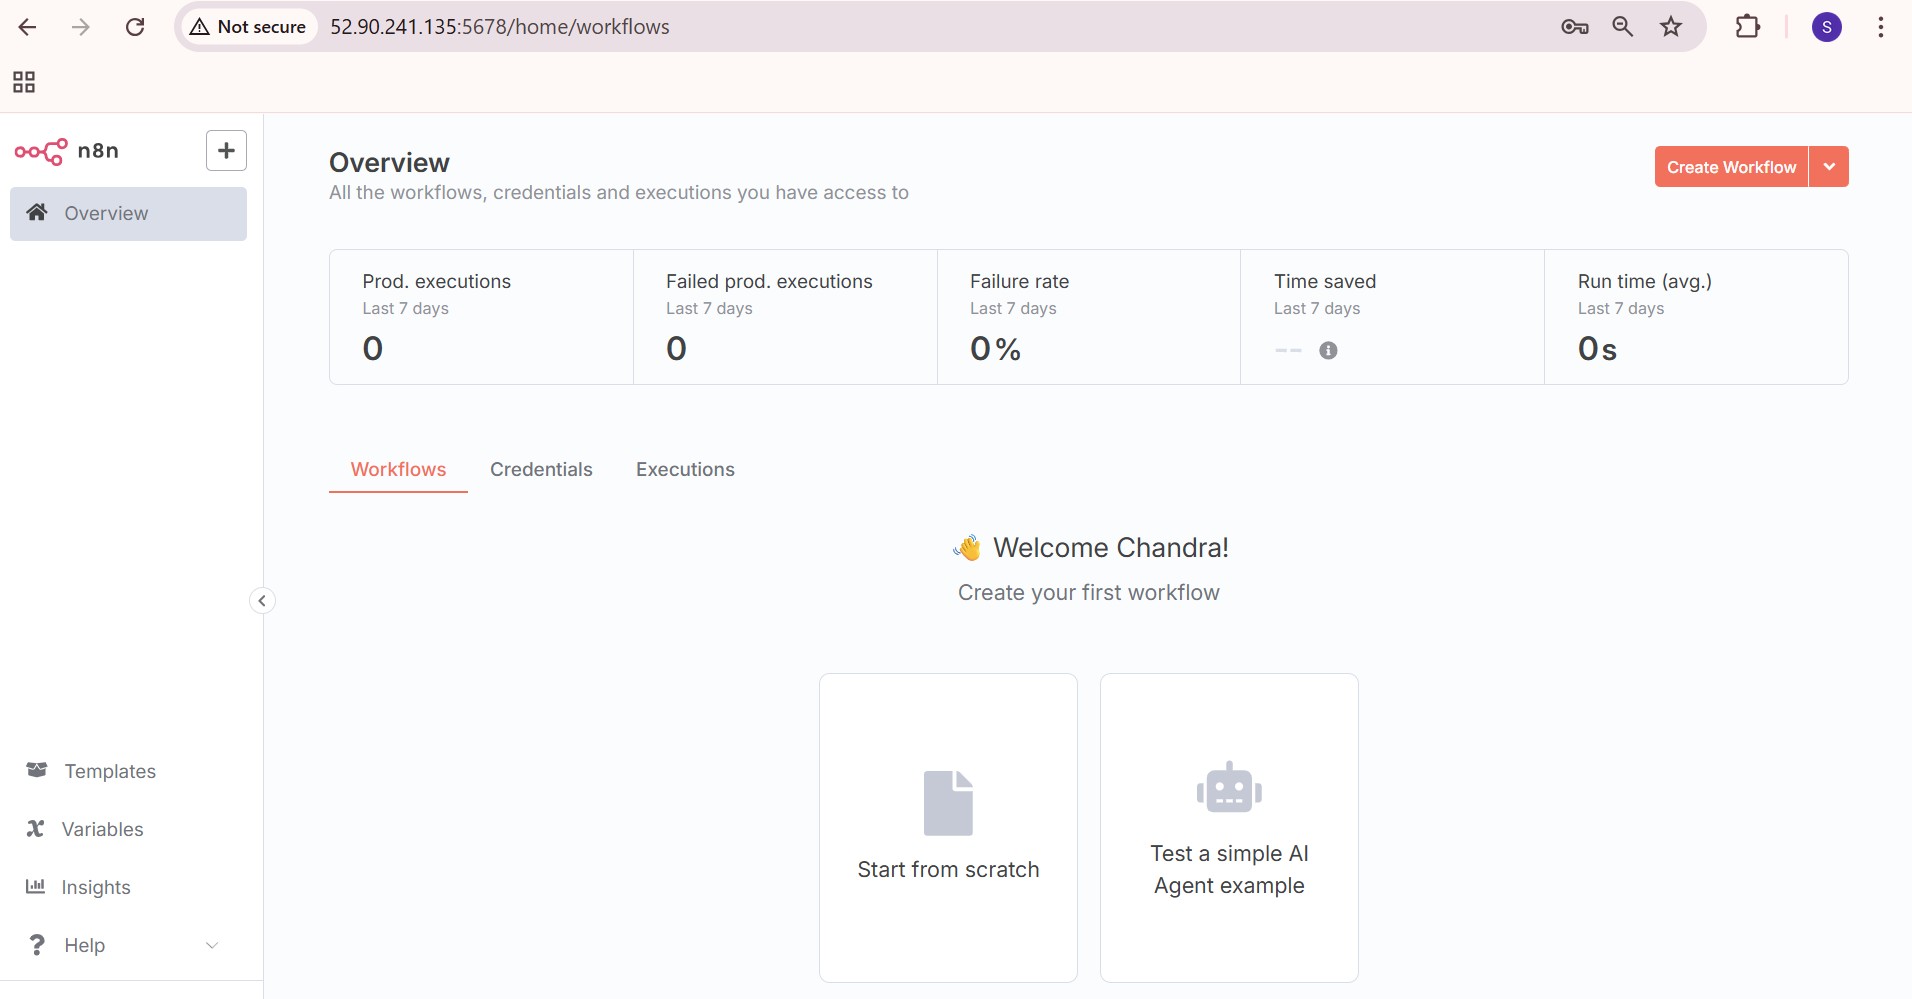
- Once entered in the browser, the n8n interface will load. It typically begins with the sign-in or setup screen, followed by access to the workflow dashboard.
Conclusion
Running n8n on AWS EC2 with Docker provides a powerful, self-hosted automation solution that grants complete control over infrastructure, configuration, and data management.
This deployment approach combines flexibility and scalability with transparency, allowing organizations to tailor workflows to their specific needs while maintaining ownership of their automation environment.


